I have been very busy for the last several months with no time to write for my blog. Now I want to try and get back to it and show you what I have been up too. One of the things I was working on was my wedding gown. I got married just after Christmas. We had a small ceremony at our church because we wanted our family and friends to take part in our wedding day. We have both been widowed and we are an older couple so I wanted a pretty but age appropriate dress. I love the way my dress turned out and it fits perfectly and I think very flattering on me. My dress is a tea length Champagne colored silk dupioni under dress with a re-embroidered lace and beaded top with 3/4 sleeves. And my groom wore a charcoal grey three piece suit. And the day turned out beautiful.

This is me walking down the isle The picture is a bit blurry but I like it anyway. I did not have a professional photographer just friends who took some pictures and to be honest I didn't really plan the pictures at all. But I think my friends sent me some nice pictures.

This is the back of my dress. The top had 38 buttons and button loops down the back. I bound the edge of the lace with bands of the silk dupioni. And I made the button loops with the same silk. The buttons are vintage pearl buttons I pick up at the auction we regularly attend. I think they match the silk perfectly. At the very bottom I pinned a rhinestone broach. The under dress has an invisible zipper but I did a unique application because it was so difficult to zip at the point where the pipping and the waist seam meet. Even when someone was helping me zip they couldn't get the zipper past that area. I could zip it fine when I wasn't wearing it. So I decided to sew the zipper not quite so close to the teeth, but then to much of the zipper tape showed making the zipper not so invisible. So my solution was to add a piece of pipping to the seam and this solved the problem beautifully. I have a few of my sewing friends at my wedding and they were impressed by my solution. Even though you can't see the zipper at all under the lace top it makes me happy because I know it is there.

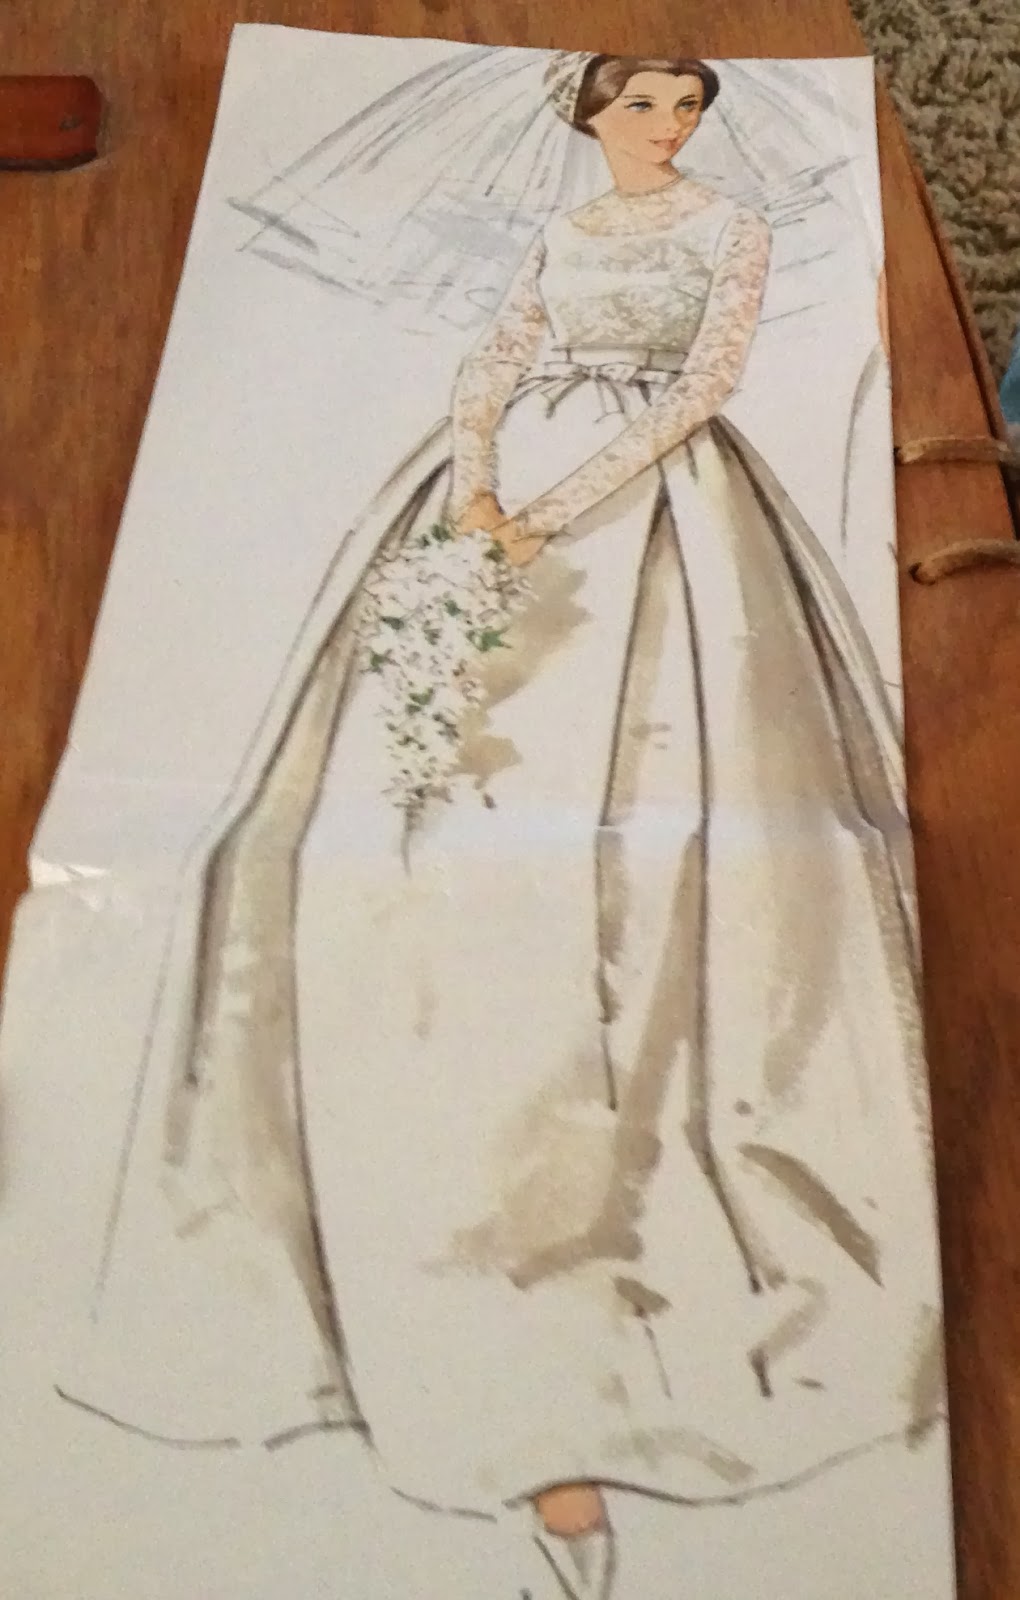
This is my inspiration picture of how I envisioned my dress. This was a picture on the back of a vintage wedding dress pattern but the actual pattern was something different.

But I also had this vintage wedding dress pattern and I knew I could adapt it for what I had in mind. The top part that was pretty fitted was my main concern. The pattern was just a bit smaller than what I wear so I needed to adjust that. And I wanted a top that was separate from the under dress because I wanted to show off the scalloped edge of the lace. And I wanted a dress longer than the short version seen on the pattern but I did not want floor length or a train. The length of the skirt did not concern me as it was easy to decide how long I wanted it to be. But the top was a bit more daunting because I did not want to cut into my expensive lace until I knew it would fit perfectly because I would not be able change it once it was cut, especially if I cut it to small. So I made a muslin for both the top of the under dress and the lace top. For the muslin I just used something of comparable weight from my stash and just did minimal sewing. I decided to make both pieces 2 1/2 inches longer. I wanted the lace top to be looser around the waist and I also wanted no seams to interfere with the lace design so I eliminated the darts.
I still was a bit worried about cutting my lace so I decided to make another muslin. This time I used some lace that was very much like the lace I was using for my gown except I bought it on the clearance rack and it had a stain on it and I know I didn't pay that much for it. It had been in my stash for some time. I made the second muslin and was happy with the fit and feel of that. Now it was time to cut my expensive lace and finish my dress. I had already finished the under dress. I made just a few changes to that part. One thing was that I added a lining The pattern did not call for a lining. And I added some boning to the bodice. I wanted to make sure everything stayed in place. I didn't want wrinkles to form across the front. The dress was very comfortable and easy to wear. I felt beautiful in my dress. It was just like I visioned it would be.
.jpg)
 http://www.myrepurposedlife.com/http://i940.photobucket.com/albums/ad249/MyRepurposedLife/catchascatchcan_1502.gif
 http://i1.wp.com/www.create-with-joy.com/wp-content/uploads/2012/01/Inspire-Me-Monday-Button-1502.png?resize=150%2C150